How to Make a DIY Punch Needle Mirror

The DIY punch needle mirror trend has sparked excitement in crafting circles, riding the wave of traditional craftsmanship's revival. It has found its spotlight through social media exposure on platforms like Pinterest, TikTok, and Instagram, inspiring a surge of creativity in home decor. It became a canvas for personal expression, blending functionality and artistry. TikTok users showcased mesmerizing time-lapse videos, sharing their creative processes and finished pieces, fostering interest among viewers. The trend's visual appeal and engaging content formats on online platforms propelled its popularity, inspiring countless users to explore this craft and contribute to a vibrant online community of DIY enthusiasts.
If you're one of them, inspired to add a personal touch to your home decor but unsure where to begin, worry not! Our blog is here to be your guiding light along this creative journey. Just follow the step-by-step guide to venture into the art of punch needle embroidery and create a unique piece to elevate your living space.
Materials Needed:

●
Punch Needle Set: Includes a punch needle tool and various needle sizes.
●
Embroidery Hoop: Sized to fit your mirror
(usually 1-2 inches larger in diameter).
●
Monks Cloth or Linen: Fabric that fits the
embroidery hoop size.
●
Mirror: Choose a size that fits well within
the embroidery hoop.
●
Yarn: Variety of colors depending on your
design.
●
Scissors
●
Glue
●
Marker/Pen
● Backing Material (optional): Felt or fabric for covering the backside of the hoop.
Step-by-Step Guide:
●
Design and Preparation: Select a design for
your punch needle mirror. It could be a geometric pattern, floral motif, or any
other design you prefer. Draw or trace the chosen design onto the fabric using
a marker or pen, ensuring it fits well within the embroidery hoop and also
marks the mirror position.
●
Mounting the Fabric: Place the fabric in the
embroidery hoop and tighten the screw to secure it. Ensure the fabric is taut
but not overly stretched, providing a stable surface for your punch needlework.
●
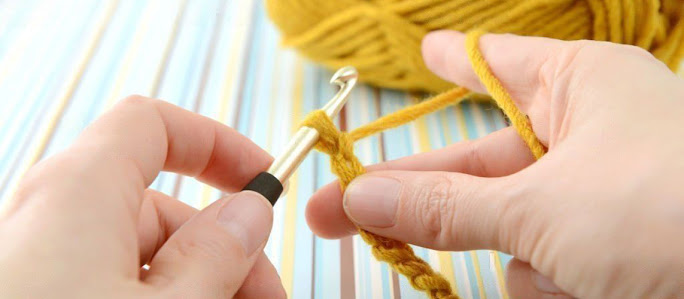
Threading the Punch Needle: Select yarn colors
that match your design. Thread the punch needle with one strand of yarn at a
time. Cut manageable lengths of yarn to prevent tangling while working on your
design.
●
Punch Needle Technique: Hold the punch needle
tool like a pen. Starting from the backside of the fabric, punch the needle
through, pulling it up until a loop form on the front side. Continue this
technique, keeping the stitches close together to fill in your design. Vary the
length and density of loops for texture and depth.
●
Filling the Design: Work methodically, using
the punch needle technique to fill in the traced design. Experiment with
different colors to add vibrancy and detail to your artwork.
●
Finishing and Securing: Once the design is
complete, secure any loose yarn ends by dabbing glue on the backside of the
fabric or knotting the ends. This ensures your artwork stays intact and neat.
●
Attaching the Mirror: Place the mirror in the
center of the embroidery hoop. Use a suitable adhesive or glue to fix the
mirror onto the fabric securely.
●
Backside Finish (Optional): If desired, cover
the backside of the embroidery hoop with felt or fabric for a neat finish.
Secure the backing material using glue or by stitching it in place.
● Display and Enjoy: Your punch needle mirror is now ready! Hang it on a wall or display it in your space to add a touch of handmade beauty and creativity to your decor.
Crafting punch needle art
is an enjoyable, easy process, perfect for displaying your creative flair and
embracing the latest handmade home decor trends. Try it out to add a touch of
aesthetic beauty to your home. Explore additional decor ideas to enhance your
living space further.